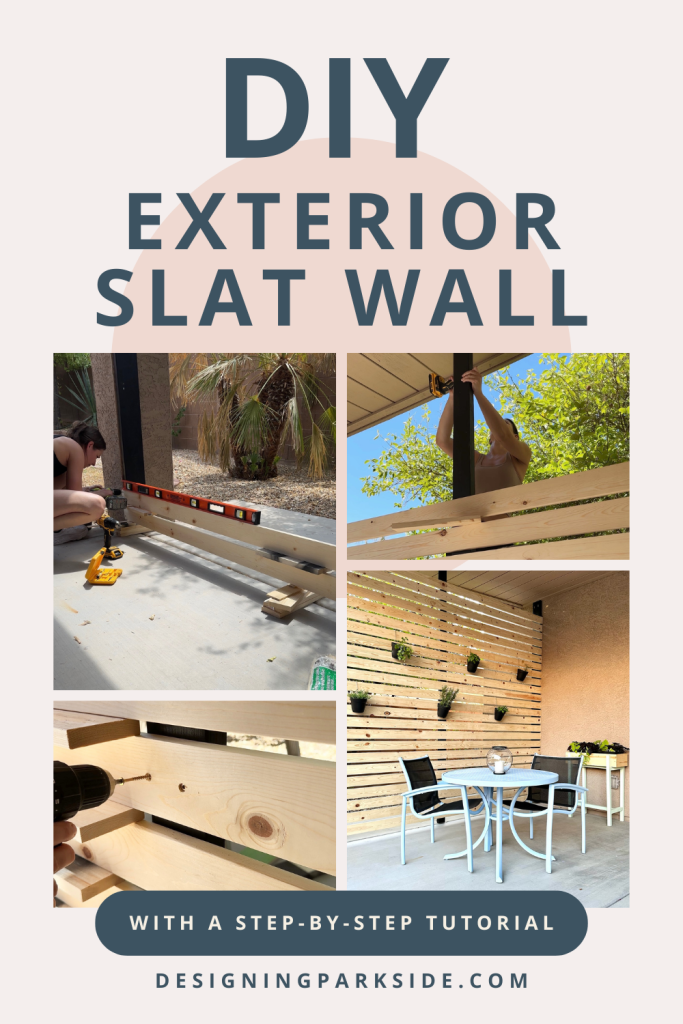
Refresh Your Patio: How to Build a Stylish and Practical Slat Wall
Today I’m going to show you a quick and easy makeover that can transform any outdoor space with a minimum of effort and supplies! A DIY vertical or horizontal wood slat wall is the perfect solution if you need privacy for your patio or want to hide an ugly but necessary exterior feature (for me it was my AC unit). Let me show you how I completely changed the focal point of my patio space and give you some ideas for the exterior of your own home!

I’ve had a few projects going on behind the scenes lately that just haven’t been working out the way I planned. To get my confidence back, I like to do an “easy” DIY that I can pull off without any problems. I have been looking into wood slat walls as part of a refresh of my patio area, so I decided now would be the time to forget about my interior spaces for a little while and work on a project in the great outdoors of my backyard.
I wanted to hide the ugly AC unit that you could see from the patio. It doesn’t add anything beautiful to our view while we sit out there, but it has to stay right where it is. So, I decided to increase the visual appeal of the patio area and define the space to give it more of an exterior living room feel by using wooden slats to create a wall. I was so happy to get this project out from the back of my mind and into reality! I think it really elevated our outdoor space and I’m so happy with how it turned out.
What Do You Need to Build a Horizontal or Vertical Wood Slat Wall for the Exterior of Your Home?
Tools
The tools list for this project was actually quite simple:
- Miter saw (circular saw would work too)
- Orbital sander
- Drill
- Level
If you are a beginner, my list of must-have power tools can be found here.
Materials
Not many materials were required either! The number of boards you will need will depend on the size and style of your wall, so make sure you create a full design and take accurate measurements before you go shopping. And do your best to purchase high quality, straight wood boards to make this as easy as possible.
- 2×6 boards (I used two)
- 2×4 board (just one)
- 1×4 wood slats (a whole bunch!) – Mine were 12ft to fit across the width of my patio
- Max-Flex Top Coat in Semi-Gloss
- Max-Flex Top Coat in Matte
- FastenMaster Pro Timberlok screws
- Stucco anchors
- Scrap wood (for spacers between the slats)
- 2″ wood screws
Step 1: Pick a Style

The first step is always the planning phase! A lot of the examples I saw when doing my research were for a vertical wood slat wall exterior design, but I decided to do something a little different. I liked the look of horizontal slats, and I also knew that this design would be much easier to execute. It just made more sense to me to nail horizontal single slats to the wooden supports I was going to put up instead of anchoring the slats vertically. Since I needed an easy win for this project, a hassle-free installation process was a big deciding factor. You might like the look of vertical slats better, and that’s great! The process will be almost the same so you can still follow along.
I also decided I wanted a full size wall that I would build in place. If you have a small space it might work best to build individual wood slat panels and install them after they are built. Think of all the variables and your privacy preferences before you make a final decision.

What is the cheapest exterior wall covering?
I love the look of real wood so I really never considered other materials. But that doesn’t mean it isn’t the only affordable option! Others include aluminum and vinyl siding. However, the price per square foot really shouldn’t be your only consideration when choosing what to build your exterior walls from.
If sound absorption is important to you or for really damp environments where wood is just not a good option for outdoor use and you don’t like the idea of actual siding, consider making your wall out of waterproof exterior wall panels (something like exterior composite wall panels). There are also other building materials that might suit your purposes and style. For me, wood was the way to go both in terms of price and aesthetics.
What kind of wood is used for Outdoor slat walls?
If you are wondering what kind of wood to choose for your wood wall, there really isn’t a right answer for this. Depending on the look you are going for and your price point goal, you can use:
- Pine
- Oak
- Cedar
- Poplar
- Maple
You get the idea! All of these different kinds of wood have their own pros and cons. I went with pine boards because they are affordable, readily available, and once treated with sealant they do just fine outside in the climate where I live.
Step 2: Cut and Sand
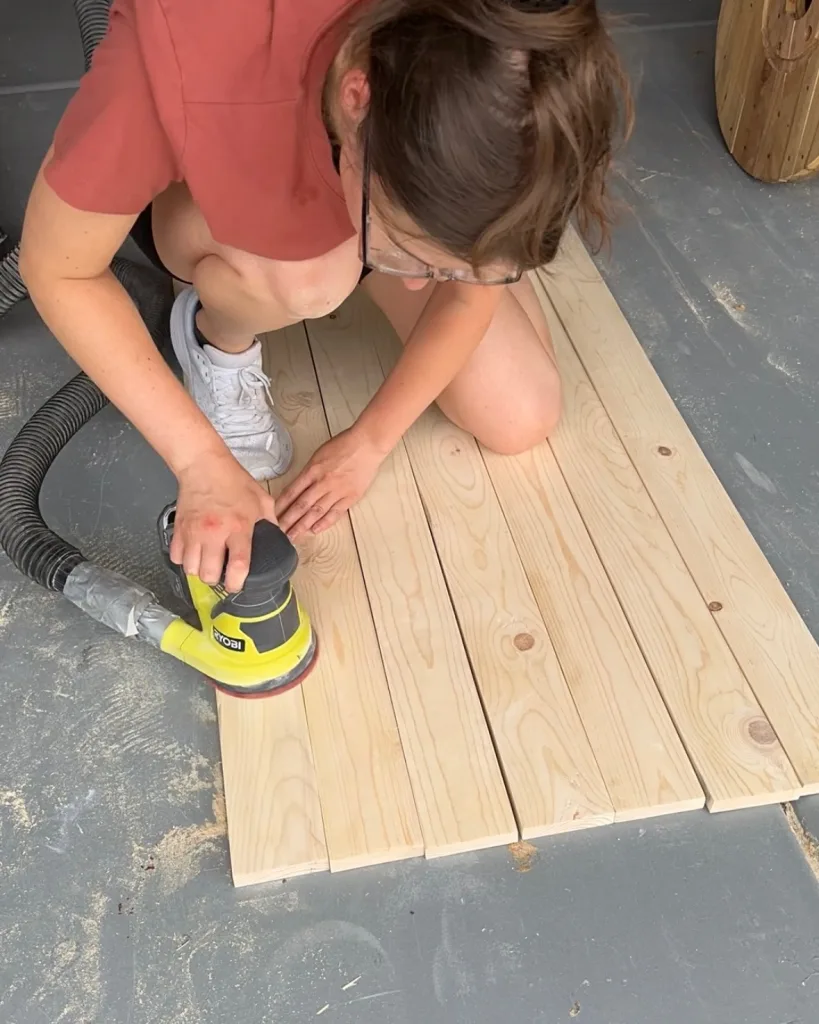
Whether you are doing a horizontal or a vertical wood slat wall for your exterior this next step is same. Cutting all your boards at once is the easiest way to save time and make sure that all your boards are the exact same length too. First, I cut my 2×6, 2×4, and 1×4 boards to the correct measurements. Then, I used my orbital sander to sand them all down smooth, including the edges and the flat surfaces. I sanded each board with 120 grit sandpaper first, then went over each one again with 220 grit sandpaper for a smoother finish. Sanding your boards makes them easier to work with, gives them a nice finished look, and also makes it easier for them to take paint or stain. Don’t skip this step!
Step 3: Paint (or Stain) and Seal
Once everything is cut, it’s time to paint or stain! This step is so much easier to do before everything is installed in your outdoor area so I really do recommend doing it first. This is where you can let your creativity shine. If you are putting up a privacy panel at the front of your home, you could paint everything to match your house’s colors. Or, many people think white walls are beautiful, even for outdoor living spaces. Go with your heart. I chose a very neutral color scheme because my design tastes are naturally drawn to wood tones.

First, I spray painted my 2x6s and 2×4 with Max-Flex All Purpose Spray Paint in Black Gloss and Max-Flex Top Coat in Semi-Gloss (for extra protection). These boards are for support pieces and I wanted them to just fade into the background while adding a little bit of contrast to the wood. I sprayed the wood slats with Max-Flex Top Coat in Matte to protect them from the elements while leaving the natural wood color alone.
Can you use wood paneling outside?
This is as good a time as any to address the question of whether or not wood is a good material to use as panelling in an outdoor environment. As mentioned a couple of times previously, wood works well for outdoor projects as long as it is properly protected. Obviously, pressure-treated wood is a good option, and depending where you live that may be your best option. I live in Arizona, which is a very dry climate, and not prone to huge weather changes, so an alternative are the sealant products that I treated my own boards with. Spraying them with a protective coating is a great way to keep your boards looking perfect over time. No matter the type of wood, if it is going to be outside in the elements you need to seal it with something even if you like the look of the natural wood. This matte finish was the perfect way for me to protect the wood and keep the natural look I love.
Step 4: Install the Supports
I designed my wall to fit between the house and the outside pillar support of the roof overhang that covers our patio area. So, I needed to anchor my 2x6s (one on each end) into the side of the house and into the pillar to give me something to attach my boards to. I used FastenMaster Pro Timberlok screws and my drill to attach the 2×6 to the house and stucco anchors to attach the other one to the pillar, since I had no stud to drill into there.

The 2×4 I painted black is used for the support in the center of my wall. I used regular screws for this. You can either put your middle support up at the beginning or after your slats are already attached (like I did). It’s up to you!

Step 5: Attach the Slats
Then, it was time to attach the slats to the supports! I used 2″ wood screws and my drill for this. The first two slats are probably the hardest because you want to make sure they are level and properly spaced. First, put your first board where you want it to go and make sure it is level using a real level (most patios will have a slight slope away from the house for water, so don’t use the patio as your guide). It helps to have a second person to hold the other end for this part, but if you don’t have that you can use a pile of wood to set it on instead.
Once your first board is on, decide on the space between them. I used a piece of scrap wood for this purpose, so if you have more than one piece with different thicknesses you can play with it a bit and see what you like best. I used the scrap pieces I cut off of my slat boards, so my horizontal boards were the same space apart as they are deep (3/4″).

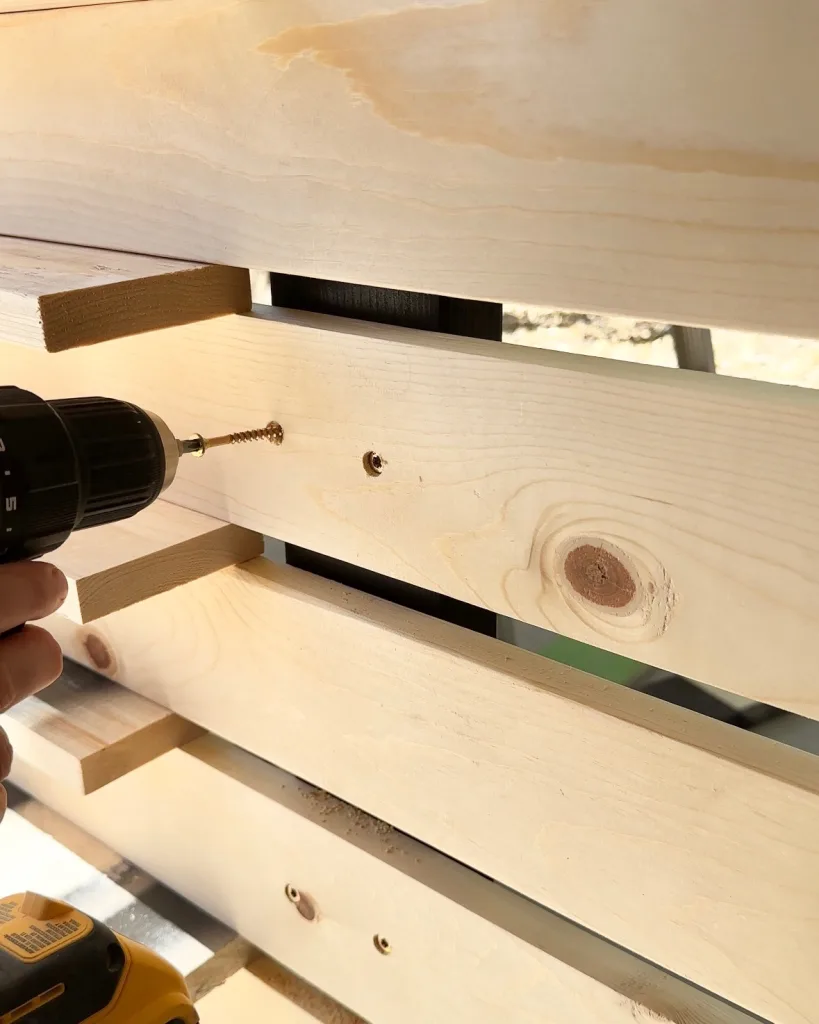
Once you know they are level and properly spaced, the rest of the boards will go on fairly quickly! I pre-drilled the boards and put two evenly spaced screws into each attachment point for extra security.
Step 6: Finishing Touches
I was absolutely thrilled with how this wall turned out! It hides the AC unit and also gives me a fair amount of shade, which is a nice little bonus. However, I wasn’t happy leaving it as just a plain wood wall. I wanted to turn it into a pretty feature wall that would become part of the decor. I turned a blank wooden wall into a gorgeous accent wall by adding some simple hanging plants here and there! This was a simple, affordable addition that really finished the space and made it feel updated and cozy.

I can’t wait to show you the other patio projects I did to really complete and totally update the entire space. Stay tuned for those!
Did you know vertical wood slat walls are not just for the exterior of your home? Here is the slat wall I made in my home. I love how it disguises my cat closet door.

If you DIY indoor or outdoor slat walls for your home I would love to see them! Tag me @designingparkside.
SAVE FOR LATER!